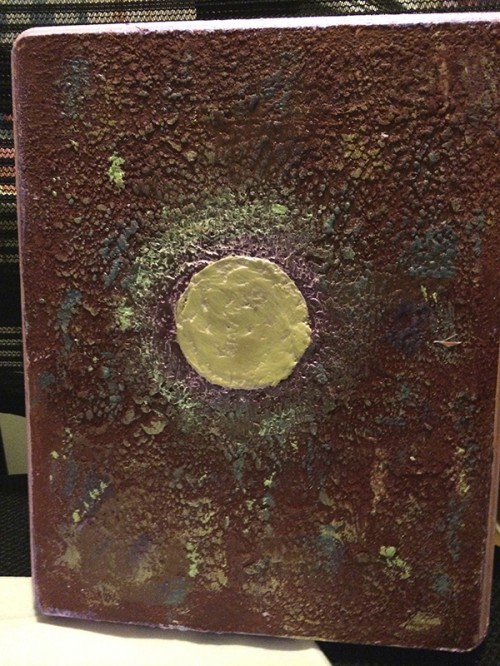
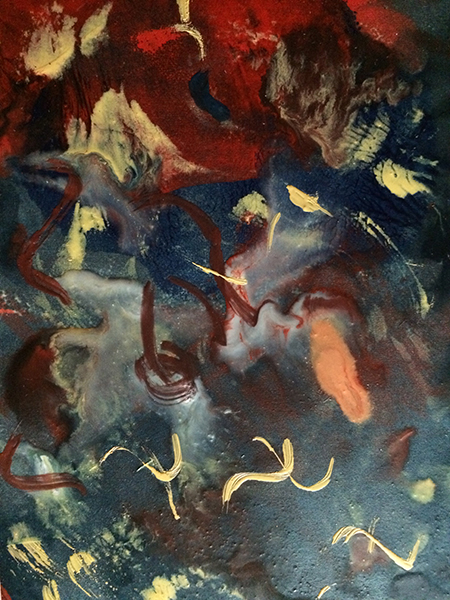
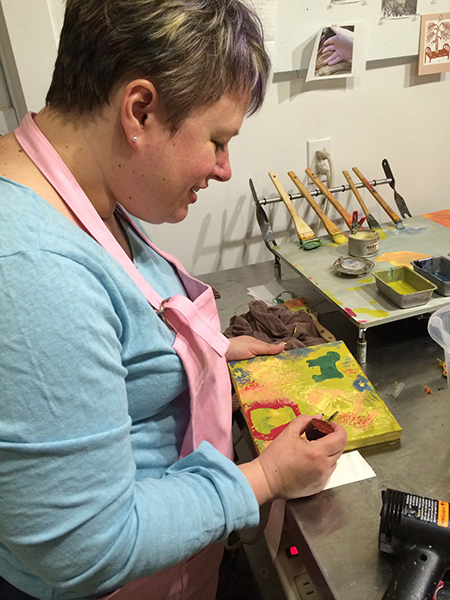
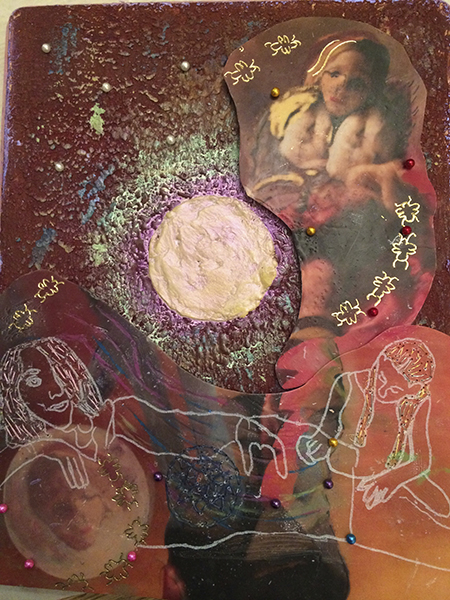
 Here's my first official encaustic painting. I say first official because the other encaustic works I have done all prominently featured wax-dipped collages. This does too, but at the base of the work is an encaustic painting. I love the texture it created. I wanted to carry the moon imagery through so I created the moon with a stencil and then rubbed oil paint into the wax to create the aura around the moon. I then attached part of the wax-dipped digital collage I created in class using pins. The three dimensional quality was created by putting cardboard in back of the collage. Finally, I used an iridescent blue acrylic paint to the edges, it looks purple. I'm calling the finished product Moon Child.
Evolution of an Art Project
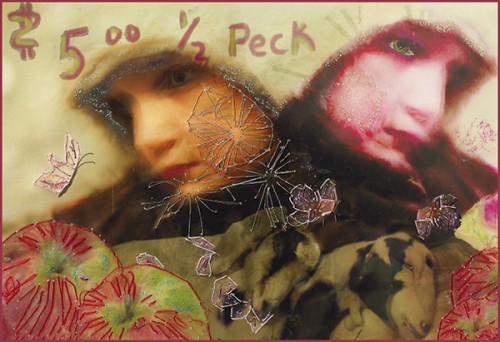 My digital collages are frequently works in progress. While the initial digital aspects of the collage don't often take long to create, it frequently takes me awhile to get to the sewing and drawing and to the decision that the piece is complete. I started this collage, which I call Temptation back in March and only recently finished it, or so I thought. Since summer I have been taking an encaustic class in which I work with beeswax or wax medium and pigments to create textured paintings. I wanted to find a way to add more dimension and texture to my collages. I'm still learning and it has been a process. You need to work in a well ventilated space, which means I have only been able to work on my projects while in my weekly class. I've been a little slow at mastering the techniques, but recently came up with a few pieces that I really like. The problem is knowing when they are finished. The thing with digital projects is you can always scan them back in and continue to revise and revamp them. I've learned that the wax medium also allows you several alternatives, so I've been experimenting with some of the techniques. On November 20th, my class is going to have a show. We're calling it an Encaustic Jamboree. I now have several pieces to put in the show.
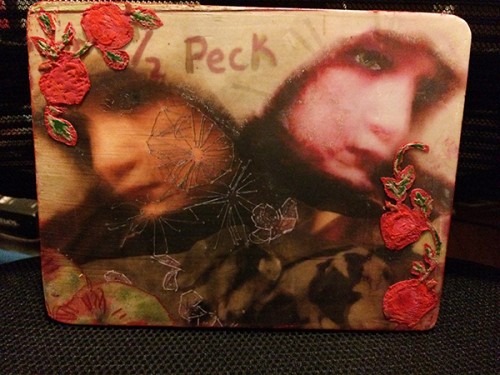
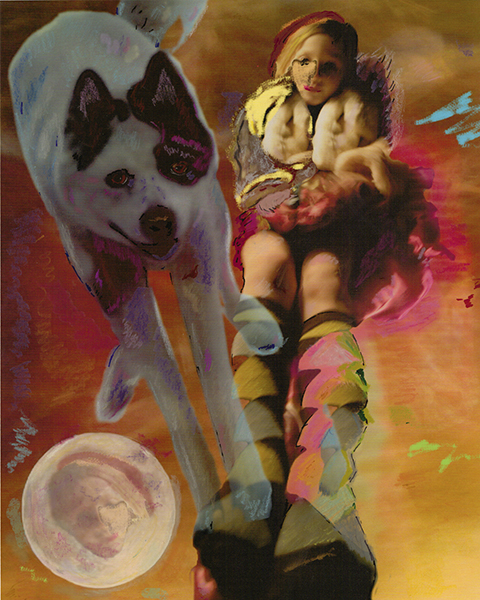
The piece shown above is not encaustic. It's the finished version of my digital collage. Originally, I was going to have only one image of a girl in the picture, but created the mirror image when I printed the collage out on vellum paper. It created a whole new look. I scanned the vellum print back in and flipped the image, adding it to the original collage so that I now had two girls. I printed the collage on a laser printer and brought it to my encaustic class. There I secured it to a wooden board with PVA, bookbinding glue, sanded the edges to make the image flush with the board and then dipped it in wax. From there I created a stencil of apples on a vine. I cut out the stencils and painted in the apples with red wax, adding green accents later. Then using acrylic paint, I painted the edges of the board cherry red. Below is the final result, which I will be showing in the Encaustic Jamboree.
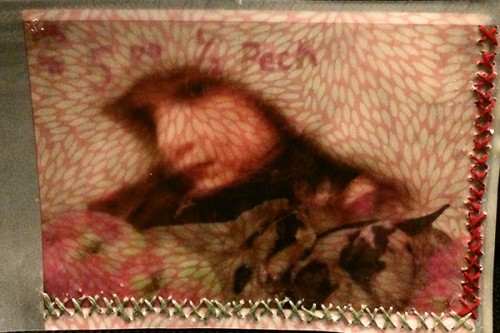
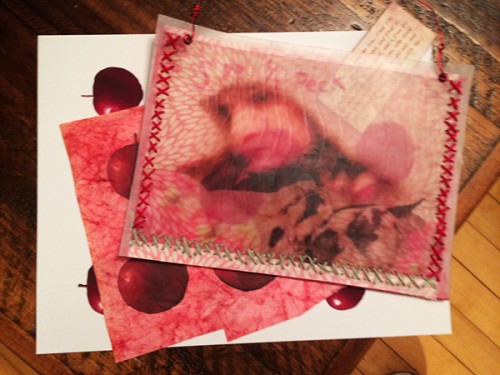
That same class I also brought in some alternative versions of the print including the image I had printed out on vellum. My teacher thought it would be fun for me to try the vellum in wax and see what would emerge. I loved the results. My instructor also had some wonderful papers. We tried one in back of the wax-dipped vellum print and I loved it. I decided to stitch the paper to the back of the image using embroidery thread, creating an envelope like that below.
Then carrying through with my Eve imagery, I cut up little red apples from a photo I had taken and put adhesive felt on the back. I dropped these into the envelope as well as a scripture from Genesis in which Eve eats of the fruit in the garden of Eden and offers it to Adam. I printed this out and also put felt on the back and dropped it into the envelope.
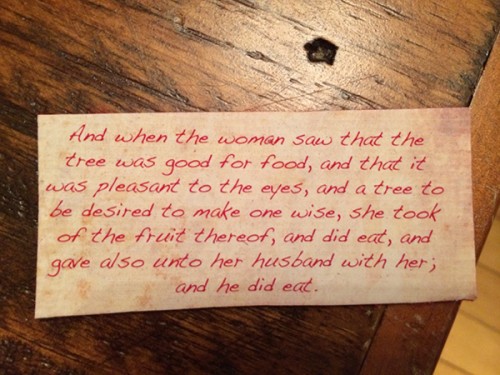 I also added felt to the back of the envelope, punched holes in the top corners, added red eyelets and a wire hanger. I will also be putting this in the Encaustic Jamboree although it is not entirely finished. My hope, once I can return to my teacher's studio is to paint a board with encaustic wax and embellish it with paper apples. Then I will hammer a nail into the board and hang this piece from it. At least that's the plan for now. It seems like my ideas are always evolving.
Scenes from Class
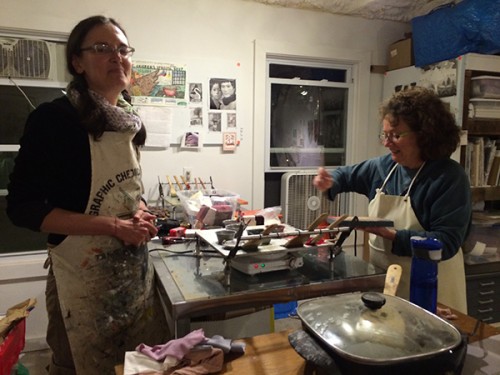
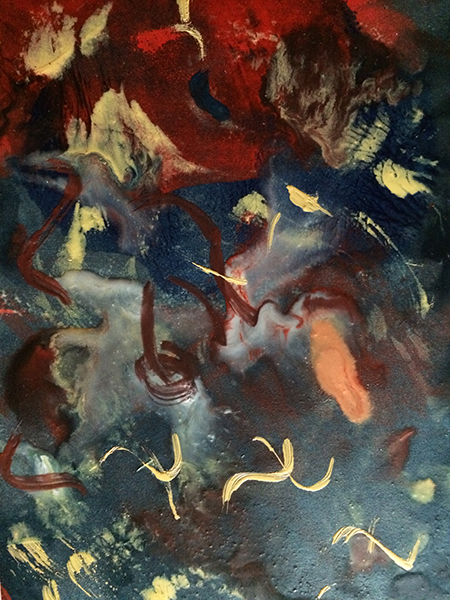 I had my third encaustic painting class tonight. We started with photo transfers on to a wax surface. You basically apply a xerox print to the wax, which you burnish and then use water to theoretically remove the paper and keep the xeroxed image. I say theoretically because it can be a tricky process and my tiger lost it's head and a lot of it's limbs in the process. You can see some of its stripes.
I prepared another board by pasting one of my digital collages to it. We will be working with that next week. I also gessoed a second board to create a smooth polished surface also to use next week and concluded the class by playing with wax on paper.
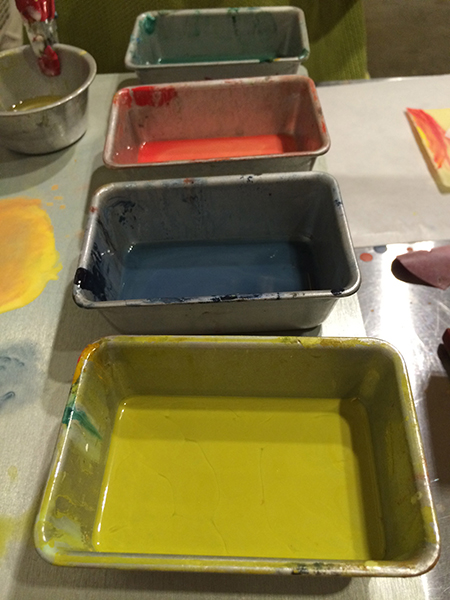
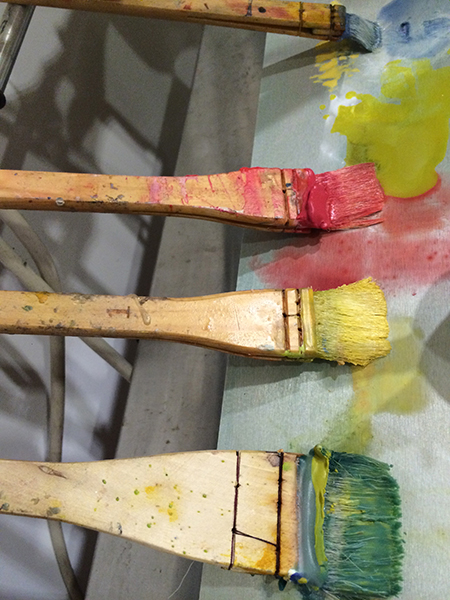
I think this wax on paper image will make a great collage background. Here are some more scenes from the class:
Something New
Over the last year my photographs have been chosen for two Healing with Arts shows at the Norris Cotton Cancer Center at DHMC in Lebanon, N.H. At the last show a fellow artist told me about a four-week class on encaustic painting or painting with pigments mixed with hot wax. We had discussed this before because we were both interested in introducing new elements to our art. The digital collages I make end up being 2-D prints of my work, but I am always interested in introducing 3-D elements and texture to see what they add to a picture when it is once again scanned and compressed into a 2-D image. I thought wax might be an interesting option.
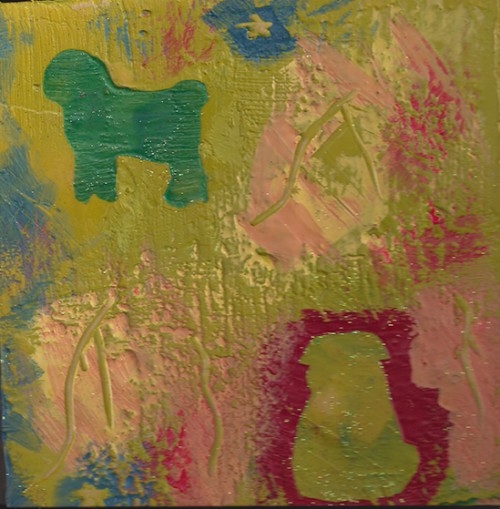
The class has been a lot of fun in spite of the fact that I've had to relax during the learning process, something that is not easy for me to do, and be willing to make mistakes. The first night we took a square wooden board and covered it with wax and experimented with various techniques to add texture, carve into the surface and to add stencils. Our teacher taught us two different stenciling techniques to add decorative designs to our pieces and I, of course, chose to add pugs. As an aside, the instructor noted that she was very impressed that I could create stencils of pugs on the spot from memory (oh, how little does she know!)
For week two, the instructor suggested that we bring in some of our own images that we wished to use in our encaustic works. I brought in several of my photo collages.
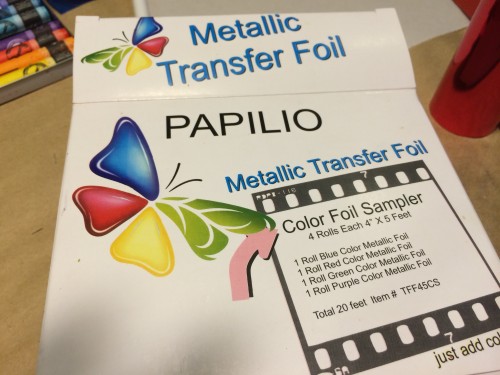
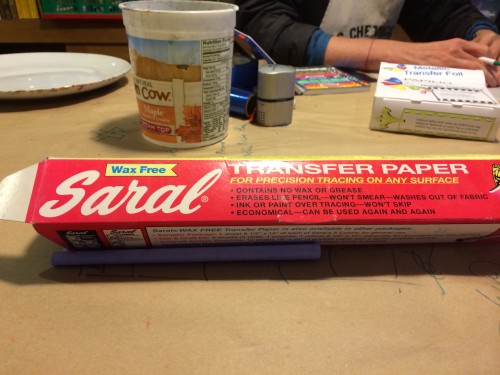
She taught us two dipping techniques for covering the image with wax and then had us experiment by using some other materials she had in her studio such as Papilio Metallic Transfer Paper and Saral Transfer Paper. We also used National Geographic to transfer images to our work.
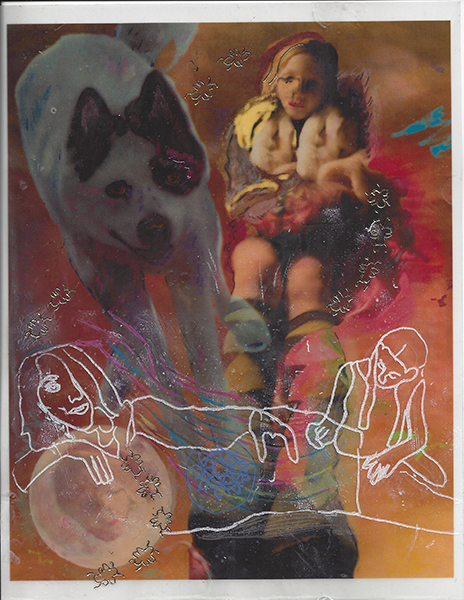
I used the Papilio Metallic Transfer Paper to add gold scarabs to my waxed-dipped collage and the Saral Transfer Paper in white to combine two images from National Geographic, placing them at the bottom of the piece.
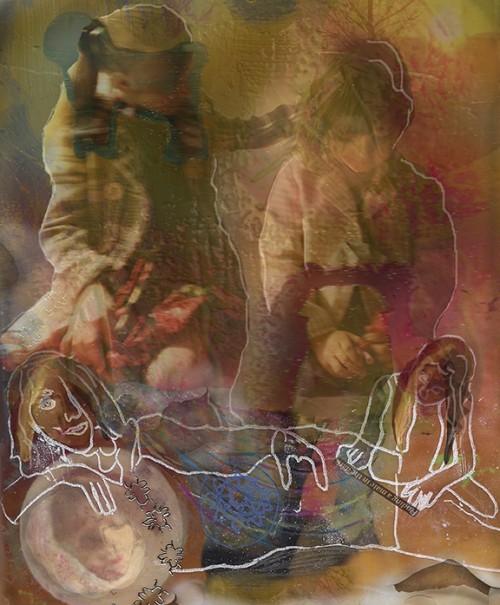
While working on the image in class I already began to formulate some ideas for what I wanted to do with it when I got home and could experiment in Photoshop. I knew I wanted to keep elements of the original collage such as the colors and feel, but that the new elements were more of a distraction than a complement. I loved, however, how the bottom portion of the image looked. I decided that I would cut it out either literally or in Photoshop and then put it on a new background. Once I got it in Photoshop, however, I began playing around with blurring the background and adding new elements to the image. I had originally planned on waiting to sew on the wax, which has an unique feel and appearance, before manipulating the image in Photoshop, but I couldn't wait and ended up really liking the result. I used both the image of my waxed-dipped collage and my encaustic painting on wood, merging them in Photoshop to create a more textured background. I then began experimenting by adding photographs I have in my "materials" folder in Photoshop. I am far from finished as I want to still print the piece out and experiment with thread and paint and drawing and may even change the piece further or create a whole new one as I progress in my next two classes, but wanted to share with everyone what I have done so far. The instructor is supposed to teach us how we can set up our own encaustic studios or workspaces, which I hope I can do (You need a space that is well-ventilated) because I like the texture it adds to the collages, but also think I could produce some interesting traditional pieces as I learned the techniques better. I'll continue to post pictures as the collage progresses.The friend who introduced me to the encaustic class often prints her work out on aluminum and I am considering doing so with this piece when it is complete.
For now I'm calling it "Prayer."

